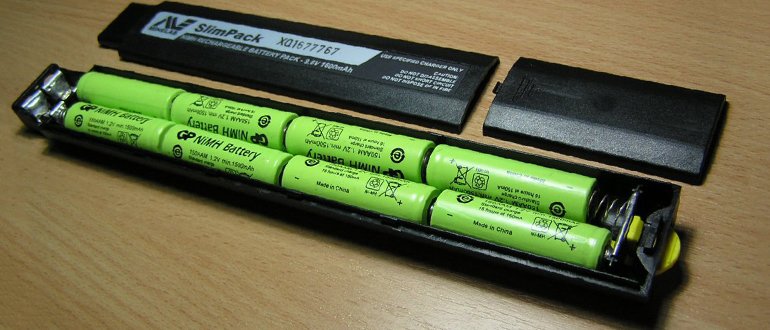
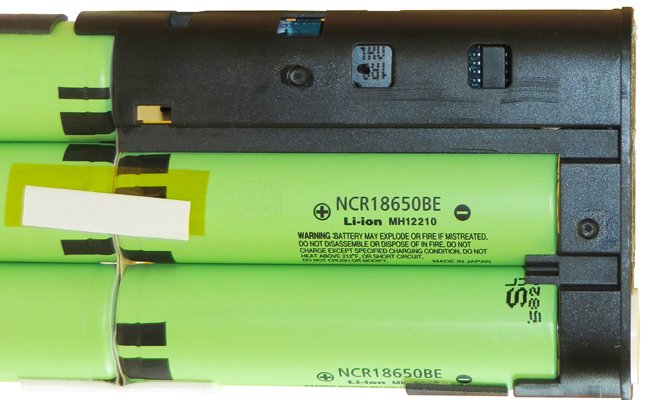
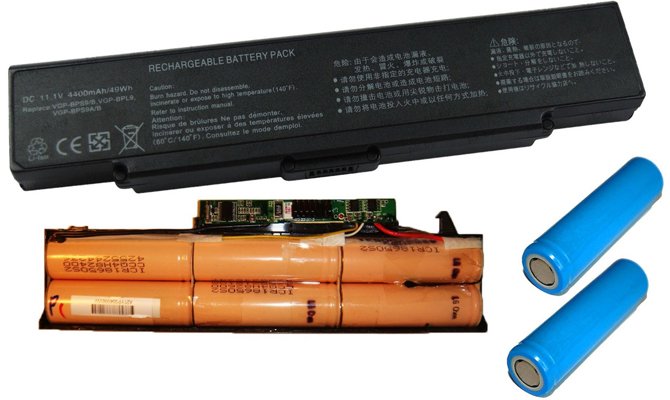
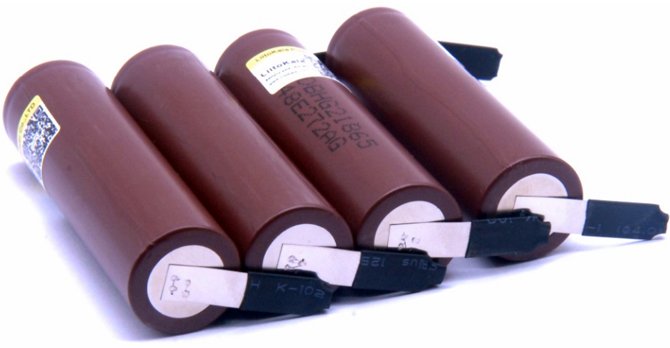
The laptop’s battery consists of several 18650 lithium cells, so some owners can restore the product’s performance by simply replacing the batteries. This method of "resuscitation" of the battery has pros and cons. We will talk about pitfalls, as well as the advantages and disadvantages of this method of battery recovery in this article.
Content
Is it worth replacing the cells in the battery
The main incentive to change the batteries in the battery is the economic component of this process. The cost of the new battery is quite high, and you can buy high-quality inexpensive batteries on Aliexpress or similar sites. In addition, elements of type 18650 in good condition can be bought in the secondary market, which will also save a lot of money.
Contacting a service center to replace lithium batteries is not always impractical, the cost of work plus the cost of acquiring batteries can equal the price of a new battery. But if you are scared yourself, then you should at least call and find out the cost, maybe in your case it will be easier to trust a professional.
How difficult it is and what the errors lead to
In general, the process of replacing cells does not take much time, and to complete this work, it is enough to be able to use a soldering iron and a screwdriver. The main thing when performing this operation is not to make a mistake with the selection of new batteries, as well as to correctly connect each element of the electrical network.
Mistakes when replacing laptop cans can be very expensive. Careless actions can easily damage the battery controller, which will require much more expensive repairs or part replacement.
In addition to the danger of damaging the electrical circuit of the battery or laptop, it will be necessary to solder the conductors to the battery, which will require the use of acid flux and a small soldering iron so as not to overheat the batteries.
It will be possible to remove the batteries from the laptop’s battery only from Ni-Mh, Ni-Cd and Li-Ion batteries, since Li-Pol will not have finger elements, but something like a package.
Replace the batteries in the battery
If the batteries are replaced correctly, the likelihood of breakdowns in the laptop’s circuitry will be minimized. The first thing to do when doing this job is to remove the battery from the laptop.
Remove the battery
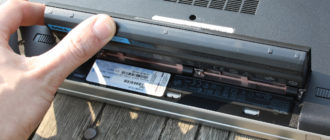
To remove the battery from the laptop, you must perform the following steps:
- Disconnect device.
- Remove the adapter wire from the slot.
- Close the laptop and turn it over.
- At the bottom of the laptop you need to find a rectangular area, which will be the battery of the laptop.
- The screws holding the battery (if there are bolts) are unscrewed with a screwdriver.
- We move the gate locks.
- Now you need to pry the battery case and remove it from the laptop.
If you need to replace the battery on a modern device, it will be enough to press the special latches that hold the battery, and pull the product towards you to remove it from the laptop.
We disassemble the laptop battery
Disassembly of the battery must be carried out very carefully, otherwise fragile battery parts can be damaged. In order to divide the battery case into 2 parts, it is necessary to draw a clerical knife along the seam of the product.Then, using a thin non-metallic object, gently expand the hole and walking around the perimeter of the battery in this way, completely separate one part from the other.
To loosen the grip of the glue, you can gently rub the seam several times with a cotton swab with solvent. Despite all the accuracy, you will still inflict minor damage to the battery case and cracks, chips and breaks will appear somewhere.
In order to avoid problems when assembling the battery, it is necessary to photograph the position of the batteries with a high resolution after opening the case or quickly sketch a small electrical circuit for connecting the elements on paper.
Then you should take a soldering iron and solder the wires going to the controller, and then remove the thermocouple, which is attached to one of the elements. We disconnect the microcircuit very carefully so as not to damage the product as a result of overheating or short circuit.
Disconnect and replace cans
The cans in the laptop battery are connected by a thin steel tape, which can be easily bitten with nippers or sawed off with a hacksaw for metal. When the elements are all removed, it is necessary to precisely determine their type, rated voltage and capacitance.
Then you should find exactly the same new batteries. Power supplies must be purchased with a kit or from at least one batch so that they are identical to each other. You can buy high-quality and inexpensive items on Aliexpress or similar trading floors.
If you take batteries from different parties or from different manufacturers, the values of capacitance, current and voltage may vary slightly, but this is not very good.
When new batteries are purchased, they will need to be soldered in the same way as they were previously connected. In production, the conductor is soldered to the elements by contact welding, but at home you can use a conventional soldering iron. In addition to the main soldering tool, you will need to prepare:
- Soldering Acid.
- Sandpaper.
- Battery latch.
The latch can be made independently. This tool is required to keep the battery stationary while soldering the wire. Work should only be carried out in a well-ventilated room, because in order to perform tinning of the steel surface, you will need to use a special acid solution.
When performing soldering, it is important not to overheat the battery, so a single contact of the soldering iron and the battery should not exceed 3 seconds. The work is carried out in the following sequence:
- A small amount of acid is applied to the battery electrode with a brush.
- A significant amount of solder is taken onto the soldering iron and rubbed into the battery with a quick movement.
- Batteries are soldered together using copper wire.
When the batteries are correctly connected, the wires going to the controller are soldered, and a thermocouple is attached to one of the elements using tape.
Putting it back
When repacking the batteries, the two halves of the battery case must be connected. You can use glue for this purpose, but in this case you will need to wait a while.
The disadvantage of this method is the difficulty in re-disassembling the battery. In most cases, the use of adhesive tape will allow you to quite quickly fix the two halves of the battery without using glue.
Calibrate the battery with new items
Using a battery with new cells without preliminary calibration, in many cases, will be impossible. The easiest way to perform this operation is to use the Battery EEprom works program.
You can try to do the calibration manually, but to perform such an operation, you will need to make changes to the computer BIOS, so if you didn’t manage to configure the battery using the utility, it’s best to contact a specialist.
Precautionary measures
During the work on replacing the batteries in the laptop battery, the following safety rules should be followed:
- Do not overheat lithium batteries.
- Do not damage the battery case.
- Do not breathe acid fumes during soldering.
In addition, in order to change the batteries and maintain battery performance, it is necessary to handle the controller very carefully. If during repair this part fails, then you will need to look for a similar battery to remove a workable element.
There are questions, could not solve the problem, or is there anything to supplement the article with? Then write to us about it in the comments. This will help make the material more complete and useful!

